JonathanWagenet
Sensor Packaging
Purpose
- Learn about UAV, sensor, and microcontroller technology, and 3D printing and its use for low cost custom enclosures for electronics.
Requirements
- Hands on experience with a desktop 3D printer.
- Make packaging for sensor electronics, including antenna, batteries, and logic boards.
- Enclose in water resistant, but not submersible container.
- Use reliable waterproofing options to stay within time frame and cost.
Design Process
- Made initial enclosure idea drawings in Solidworks that would be 3D printed, but opted for a commercially produced water-tight container for reliability.
- Designed a 3D printed structure to hold logic boards and batteries.
- Modified enclosure to support external antenna.
- Tested enclosure to determine reasonable weight to remain buoyant in standing water and to assess long term water-tightness even with modifications.
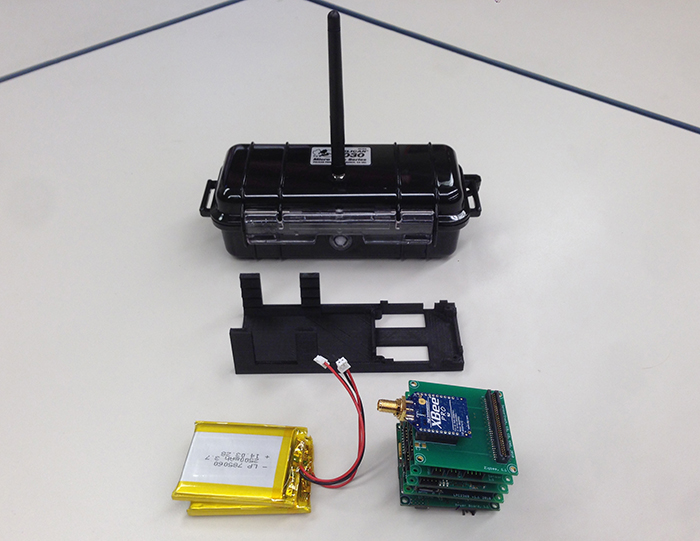
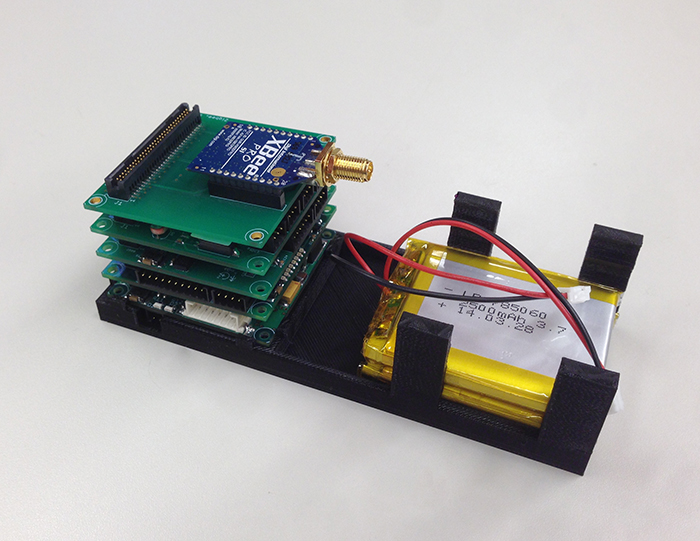
All final packaging elements disassembled (left). 3D printed support for electronics with components assembled (right).
Design Iteration for Support Structure
- Initial design features:
- Snug shelving for batteries
- Standoffs and mount holes for logic board; tabs were later used to remove an additional hardware requirement.
- Allowance for logic board geometry
- Longitudinal walls to reduce flexing of base
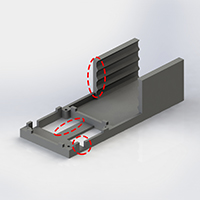
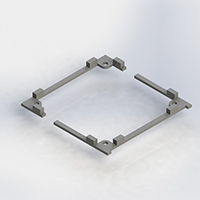
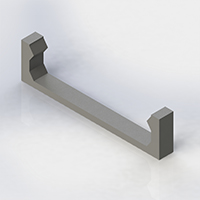
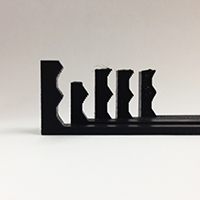
Left to right: First printed model with necessary adjustments noted. Partial model to get determine geometry around the logic board. Partial model to test battery fit. Printed models to check battery fit with minor adjustments
- Original design needed modification after first print:
- General changes to account for 3D printing tolerance
- Fix geometry conflicts with the logic board
- Change in tab configuration and adjust shelf size for snug fit of the logic board and batteries.
To test changes, model sections were used to reduce material waste and reduce printing time between changes.
Example: Batteries were inconsistent in size, so a precise fit couldn't be achieved. Trial and error was necessary with shelf dimensions to achieve snug fit for most batteries.
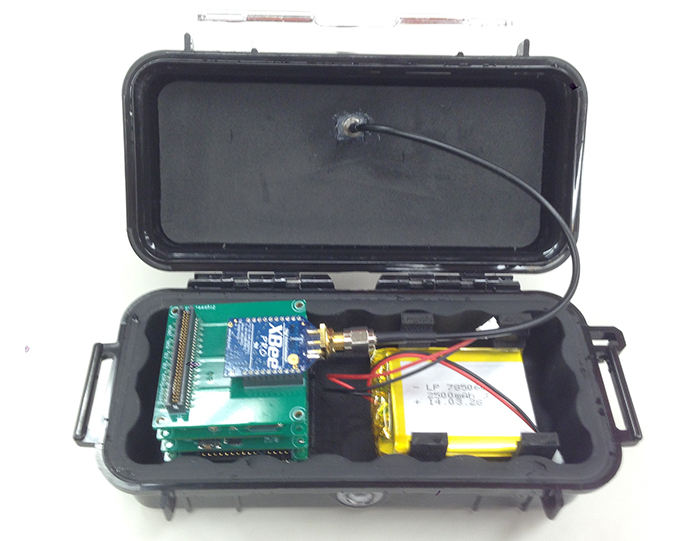
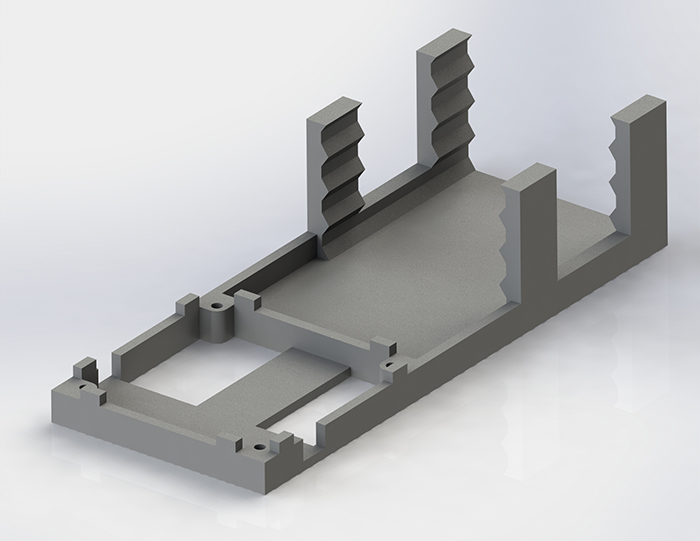
All packaging assembled together (left). Solidworks model of electronics support (right).